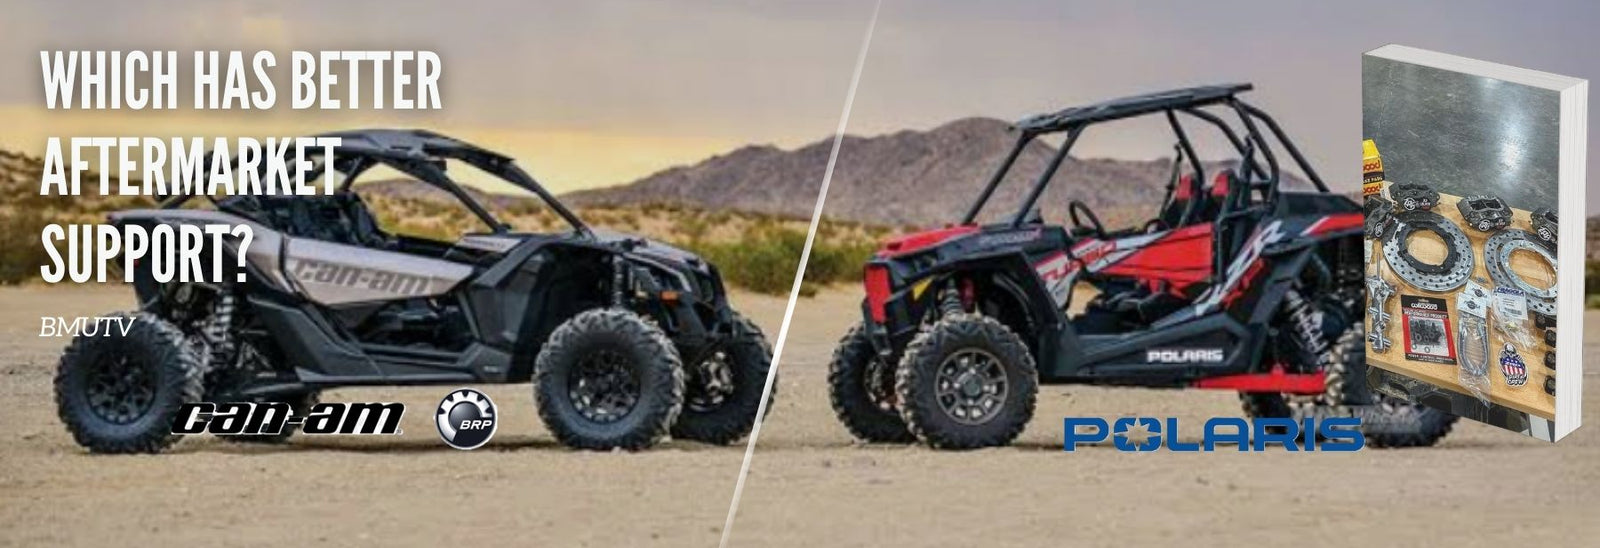

If you’ve just picked up a Can-Am or Polaris UTV, chances are you’re already thinking about customizing it to fit your riding style, whether you’re tearing across dunes, crawling over rocks, or cruising through the trails. But if you’re new to the world of modding, it can feel overwhelming with so many parts and upgrades to choose from.
This is a beginners friendly guide, Let’s break down the basics of UTV modding, highlight the first upgrades worth considering, and share a few budget-friendly options. By the end, you'll know how to start safely, smartly, and without spending a lot.
📌Understanding UTV Modding Basics
🏁Bolt-On Parts vs. Major Upgrades
When people talk about “mods,” they usually mean one of two things: bolt-on parts or major upgrades.
-
Bolt-on parts are simple, direct replacements. Things like light bars, harnesses, mirrors, or skid plates. They don’t require heavy fabrication and can usually be installed with basic tools.
-
Major upgrades, on the other hand, involve bigger investments and sometimes professional help. Think suspension overhauls, turbo kits, or long-travel setups.
For beginners, bolt-ons are the perfect starting point because they’re affordable, practical, and immediately improve your ride.
🏁Factory Limitations
Your UTV is impressive straight from the showroom, but “stock” setups are designed for general use and not your specific riding style. For example:
-
Factory tires are fine for mixed terrain but won’t perform like paddle tires in dunes or rock-crawling tires on boulders.
-
Stock radius rods or sway bar links may not hold up under aggressive riding.
-
Lighting systems are often minimal, leaving you limited for night runs.
That’s why modding is popular. you can fine tune your machine to match your terrain and riding habits.
🏁Budget Mindset
Modding can get expensive quickly if you don’t plan ahead. A smart approach is to:
-
Start with the essentials (safety and protection).
-
Prioritize performance upgrades that fit your style of riding
-
Set a realistic budget, and upgrade in stages instead of buying everything at once.
📌 The First 5 Upgrades Every Rider Should Consider
If you’re new to UTV modding, these are the five upgrades that give you the most bang for your buck.
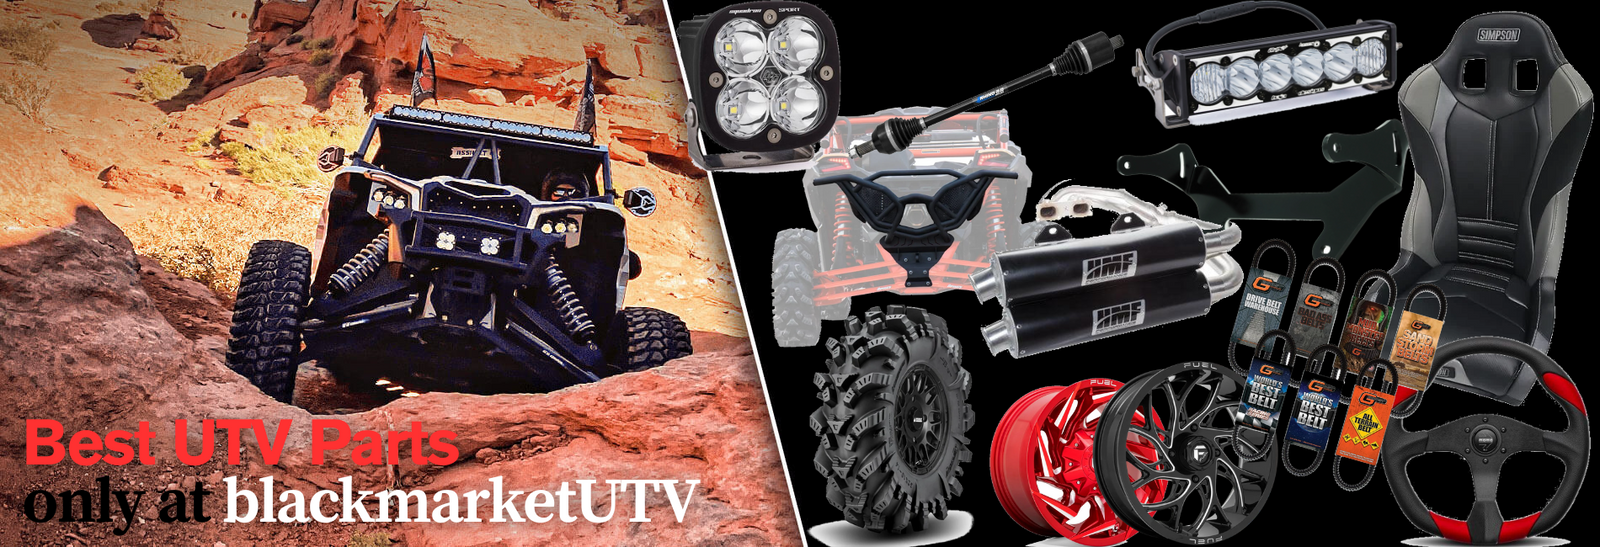
1. Tires & Wheels
Your tires are the only thing connecting your UTV to the ground, so they’re the first place to start. Choose based on terrain: sand, mud, rocks, or trails. Upgraded wheels also add durability and a personalized look.

2. Suspension Upgrades
Better shocks, sway bar links, and radius rods improve handling and comfort. High-clearance parts also help prevent hang-ups on rough terrain. Even a simple sway bar link upgrade can make your ride smoother and more predictable.

3. Skid Plates & Rock Sliders
These protect the undercarriage and sides of your UTV from rocks, stumps, and trail hazards. Think of them as armor for your machine, an essential for anyone hitting rough trails or rocky terrain.

4. Lighting Systems
Stock headlights only go so far. Adding LED bars, pods, or rock lights makes night rides safer and more enjoyable. It also gives your UTV a sleek, custom look.

5. Storage & Racks
Extra storage means you can carry tools, spare parts, recovery gear, and even a cooler. A good rack or cargo box keeps everything secure and organized.

📌 Budget-Friendly Mods Under $500
Not every upgrade has to drain your wallet. Here are affordable mods that make a noticeable difference.
- Grab handles and harnesses: improve safety and comfort.
- Mirrors and windshields: better visibility and protection from wind, dust, and mud.
- Small performance tweaks: things like air filters or clutch weights help with responsiveness.
- Cosmetic mods: wraps, custom shift knobs, or seat upgrades add personality without breaking the bank.
📌 Safety-Focused Upgrades for New Riders
Before going all-in on performance parts, think about safety. Some must-have upgrades include.
- Harnesses vs. stock seat belts: 4 or 5 point harness keeps you more secure than the factory setup.
- Roll cage reinforcement: worth considering if you ride hard or race.
- Fire extinguishers & mounts: often overlooked, but crucial in emergencies.
- Helmets & gear compatibility: make sure your setup works well with your personal safety gear.
📌 Common Mistakes to Avoid When Modifying Your UTV
A lot of beginners make the same missteps when upgrading their UTVs
- Over-upgrading without a plan:buying random parts without thinking about how they work together.
- Ignoring terrain-specific needs: dune tires won’t help much on rocky trails.
- Choosing looks over function: flashy parts aren’t always the best performers.
- Forgetting about weight balance: too many heavy parts can affect handling.
- Skipping professional installation: some upgrades (like clutch tuning) are best done by a pro.
📌 Long-Term Upgrade Path for Serious Riders
Once you’ve mastered the basics, you can start thinking bigger.
- Start small, scale up: move from suspension tweaks to long-travel kits or turbo upgrades.
- Performance tuning: ECU flashes and clutch kits unlock more power and control.
- Premium brands: investing in stronger, higher-quality parts means fewer breakdowns.
- Custom builds: design a machine for your specific passion: dunes, racing, rock crawling, or trail adventures.
In conclusion, modding your UTV doesn’t have to be overwhelming. Start with the basics, focus on safety and terrain-specific performance, and build your upgrades step by step. Whether you’re in a Can-Am X3, Maverick R, or Polaris RZRs, the right mods will help you ride smarter, safer, and with way more fun.